how to publish a paperback book on Amazon
Hey there! If you’re reading this post, I’m assuming you have a completed book ready to be uploaded, and you’re just wondering how to publish your paperback book on Amazon. If you still need to format your paperback, check out this post first.
Now that you have your finished book all ready to go, I’m going to walk you through uploading your beautiful paperback book and cover to Amazon KDP backend.
I’ve provided step-by-step instructions below along with screenshots of the entire process, but you can also watch this here video to have me walk you through it!
STEP 1: Click "+ Paperback"

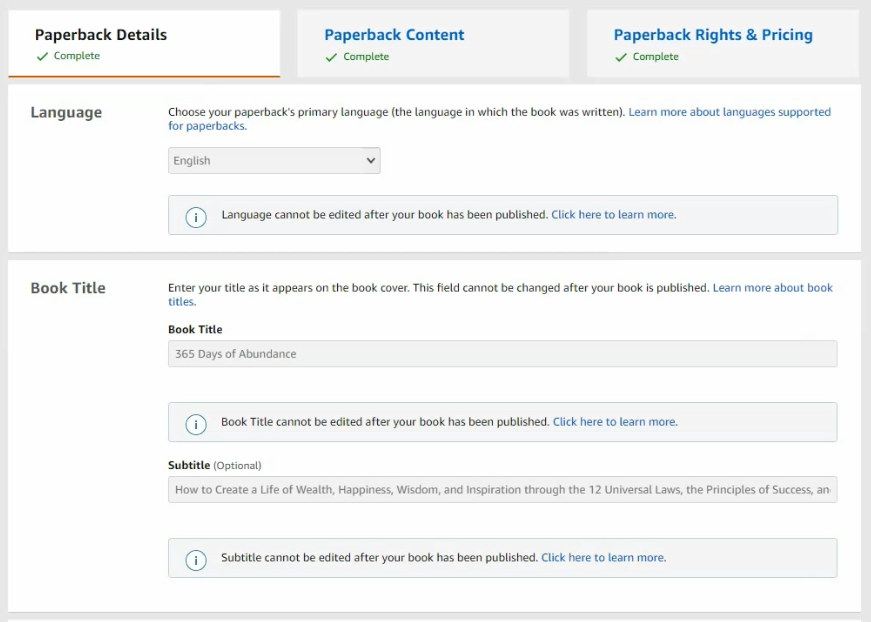
The first step is pretty self-explanatory: just click “+ Paperback” and it will take you to the book editor. The very first thing you need is your title and subtitle.
Note that Amazon will automatically include a colon between the two, so you don’t want to add one yourself.
Triple check the title for any typos or spelling errors, as once this is completed, it CANNOT be changed. You can see in this screenshot, since this book has already been published that I can’t make any changes to title, subtitle, or author name.
If you’re publishing a series, you can put that information here, but for most first-time authors you can skip the series and edition number parts. For “Primary Author”…that’s you! If you want to use a pen name, add it here. This is the name that will show up when people search your book on Amazon (NOT the name that you added to your tax form).
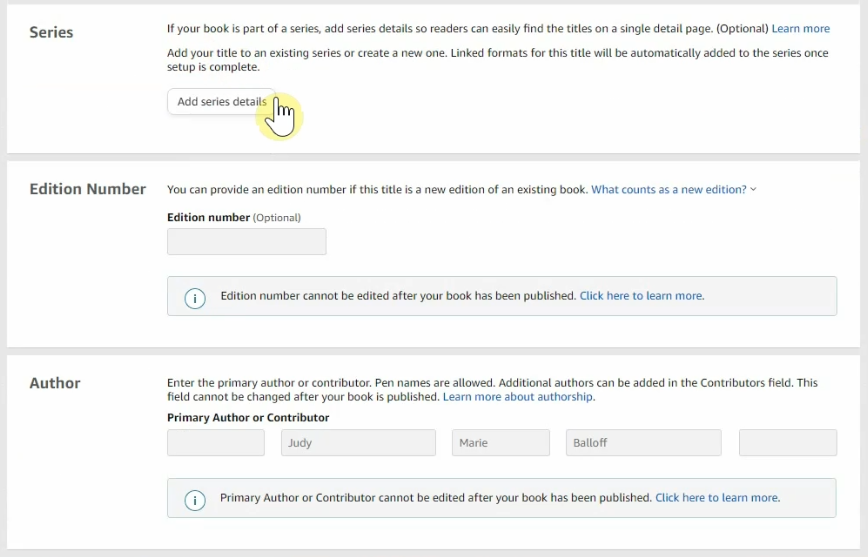
For Contributors, you can add as many as you need to. If you have an illustrator or a preface or foreword written by someone else, add it here. Note that for “editor” most people do NOT include the editor they paid to fix grammatical errors in their book. This editor is for the type of person who compiled an anthology or something like that.
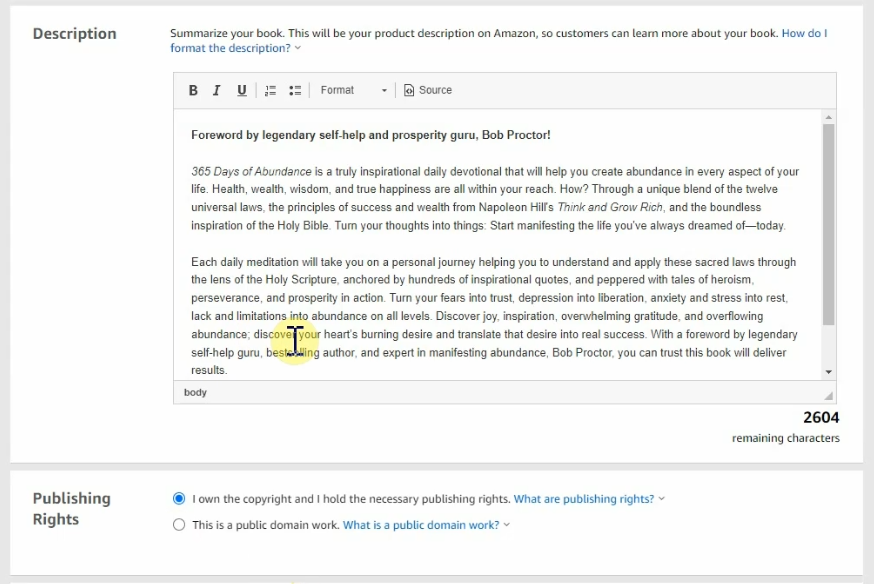
STEP 2: Write your book description
Ok…this next part is VERY important. Not only will your book description be the first thing potential readers see when they land on your page, Amazon also uses it to decide which keywords your book should rank for. I will devote an entire blog post to writing an enticing book blurb, but I’m only one woman! For now, just make sure it has a good hook in the first sentence (what value are you providing to readers or what’s the main point of suspense in your novel?).
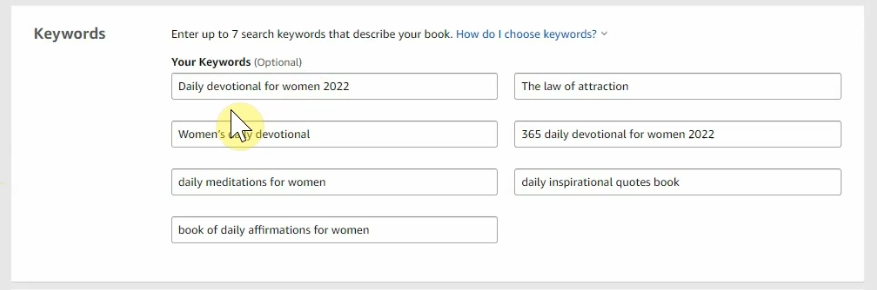
STEP 3: Choose your keywords
Equally as important as your book description are your keywords.
One of the easiest ways to get started here is to head over to Amazon.com and start typing in the words you think are related to your book! Amazon will populate a drop-down list that will help you get started. Dave at Kindlepreneur (an awesome resource!) gives specific advice on how to check if a keyword is making money…there’s no point in ranking for a keyword if people aren’t searching for it!
I’ll be adding a post on how to choose the best ones, but for now, head over to Dave at Kindlepreneur for some excellent advice on choosing the best ones!
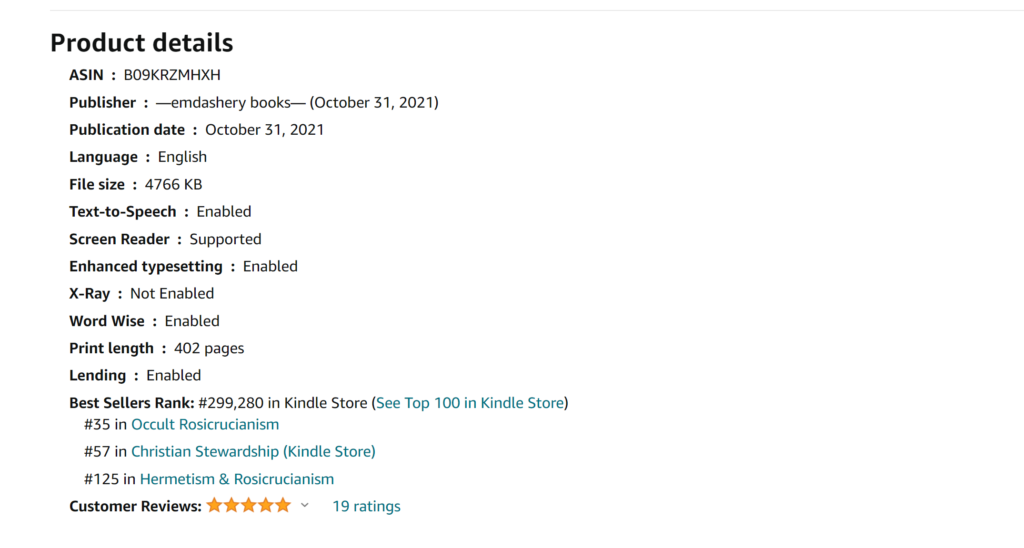
STEP 4: Choose your categories
Choosing the right categories can make or break your book in terms of getting that coveted #1 bestseller rating. The key here is to choose categories where the top-10 bestsellers aren’t selling all that well.

This is a very time-consuming process, and another thing I will be writing a blog post on in the future, but you’ll want to look at any categories relevant to your book and then look at the sales ranking for the bestsellers in that category. If the #1 book in a category is ranked #200,000 it will be easier to beat it than if it is ranked #1,000. Even better if it’s ranked #1,000,000. This is a very tedious and time-consuming process, but it’s 100% worth it to get your book to rank right out of the gate!
I’ll be adding a post on how to choose the best ones, but for now, head over to Dave at Kindlepreneur once again for some excellent advice on choosing the best ones!
STEP 5: Add your ISBN
You do NOT have to buy an ISBN from Bowker to publish your ebook. You can absolutely use the free ISBN from Amazon. However, if you’re publishing your book across multiple platforms like Apple Books and Google, it’s best to have a unique ISBN for your book. You can buy a 10-pack from Bowker for $295, and it permanently registers your book in the database of all books for all time.
If you choose to go the free route, know that you will be getting a different digital ISBN from each of the different publishing companies. You will also have a different ISBN for your paperback and hardcover versions as well.
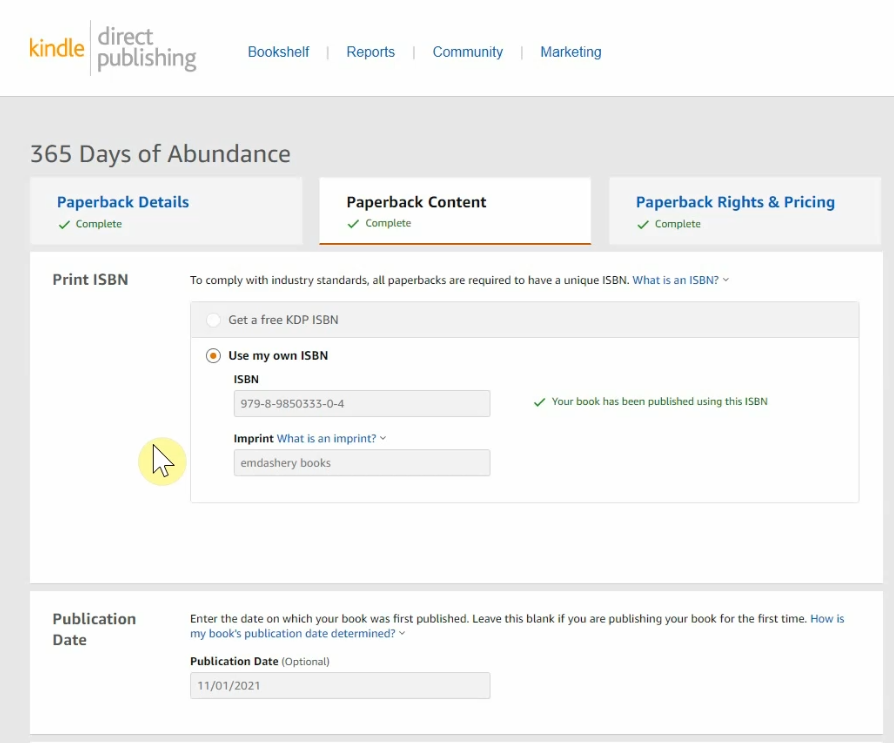
As for the imprint, you’ll only need to add that if you bought your own ISBN. The imprint listed there should match the imprint you registered your book under with Bowker. I’ll be writing a post about how to buy and register your ISBN soon.
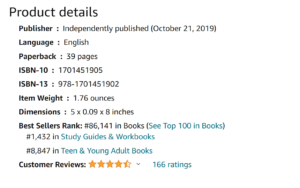
If you choose to use Amazon’s free ISBN, your book publisher will show up as “Amazon Independent Publishing” or “Independently Published” on your book’s description page on Amazon. They’ve changed it a few times, but you won’t get to pick like you did with the Kindle version.
STEP 6: Choose your paper, trim size, and bleed
Amazon gives some pretty good directions here to help newbies figure out what to choose here, but just in case, I’ve provided a little extra color to help walk you through it!

Choosing Paper Type
If your book is fiction or memoir, you should choose cream paper. If your book is nonfiction, you should choose white paper. Unless you’re publishing a cookbook or children’s book, there is NO reason to use color. If you have added some pretty color flourishes to your chapter headings, it is NOT worth it to pay the exorbitant price for color printing.
Choosing Trim Size
Your trim size is just the size of your book. Most paperbacks are going to be 6×9 or 5×8. If you’re publishing any normal book like a novel or a memoir or a self-help book, choose one of these sizes. Only if you have a cookbook or a children’s book or some other unusual book should you ever stray from those sizes.
Bleed settings
Again, for most normal novels or memoirs, you will not need bleed settings. Only if you have images that need to run to the very edge of the page do you need bleed. And if you want bleed in your book, you need to create that first in your PDF. I’ll write another blog post about how to do that one day!
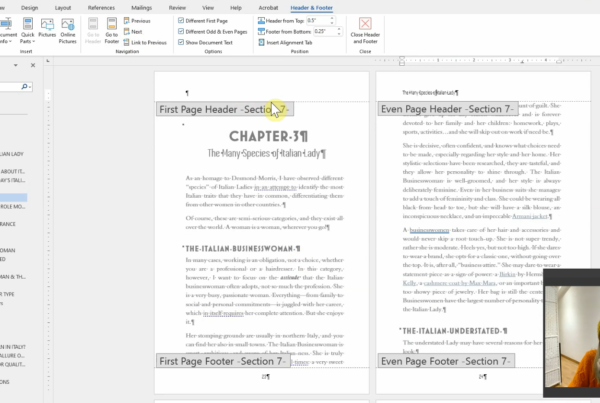
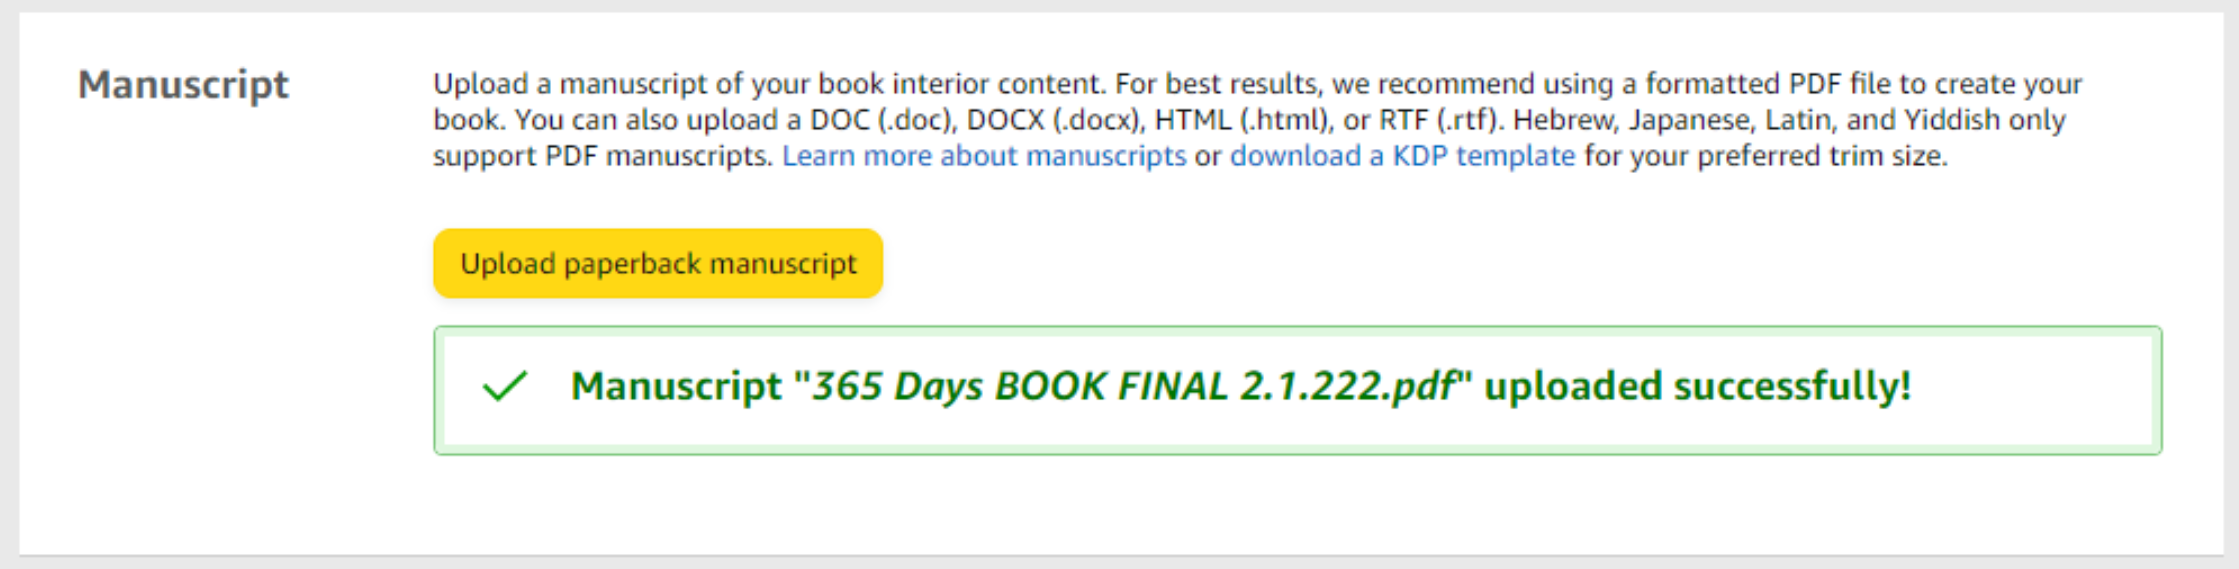
STEP 7: Upload your manuscript
Now for the fun part! You should have already converted your Word doc (or InDesign masterpiece) to PDF for publication. You also should have already checked it page by page. But we’re gonna do that again because you can never check your book too many times! Also…do NOT just upload your Word document even though Amazon allows this. You have FAR more control over how your PDF turns out.
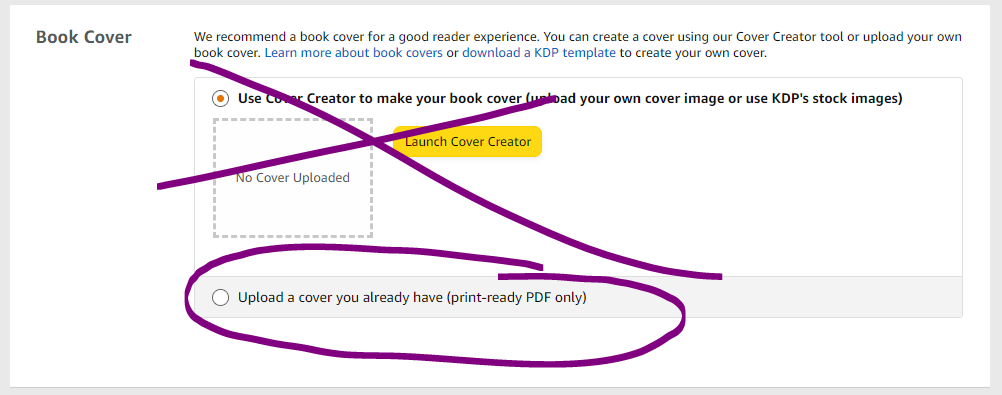
STEP 8: Upload your book cover
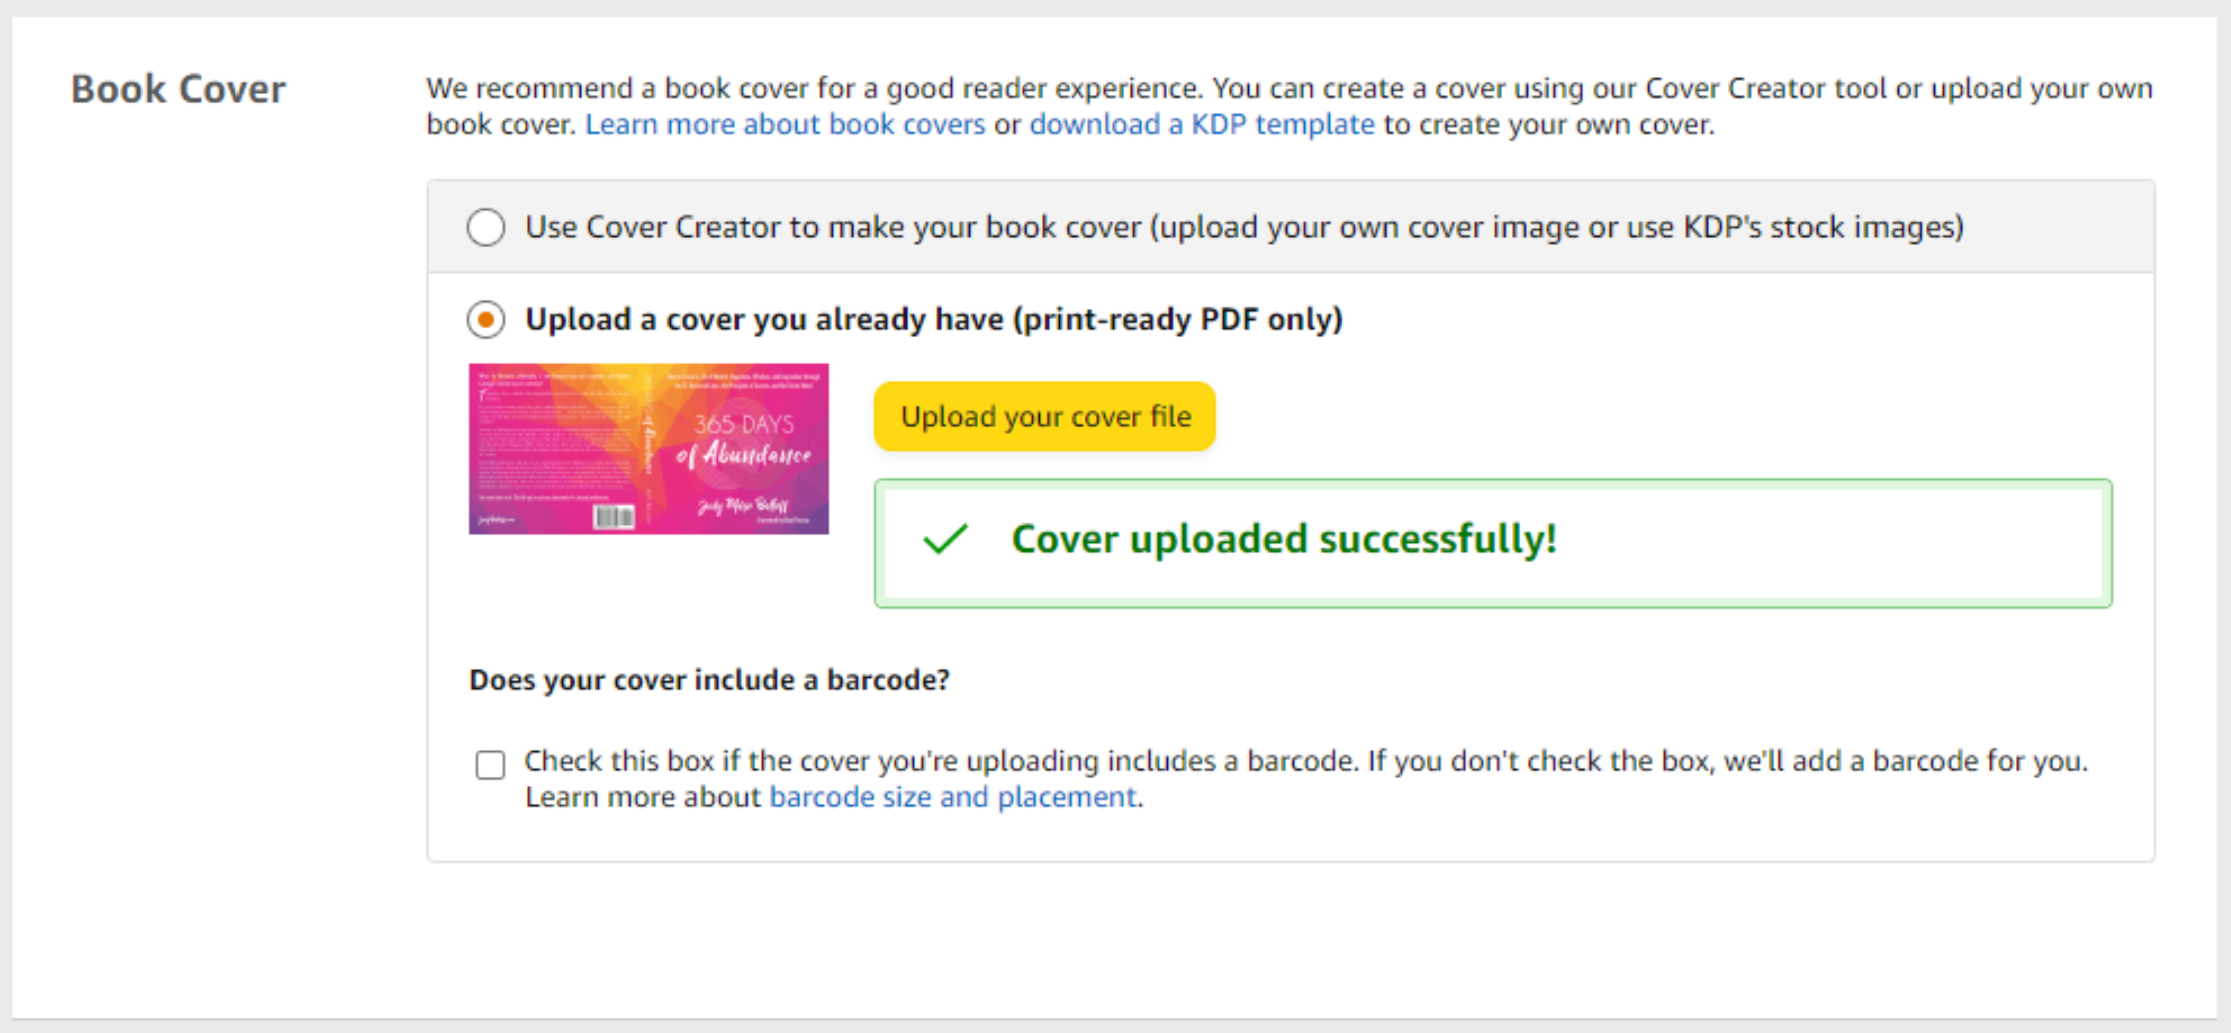
Hopefully you have a beautiful, professionally-designed cover ready to go. If you don’t, and you’re thinking about clicking that “Use Cover Creator” button–STOP RIGHT THERE. Never, never, never, never ever use Amazon’s cover creator. They are heinous and terrible and your book will never sell; I guarantee it. Instead click on “upload a cover you already have”
Cover sizing can be very difficult, but I have a whole blog post about that here. For every book you make, download KDP’s cover template for the right trim size and page count of your book. If your cover isn’t the correct size for your book, you will 100% get an error.
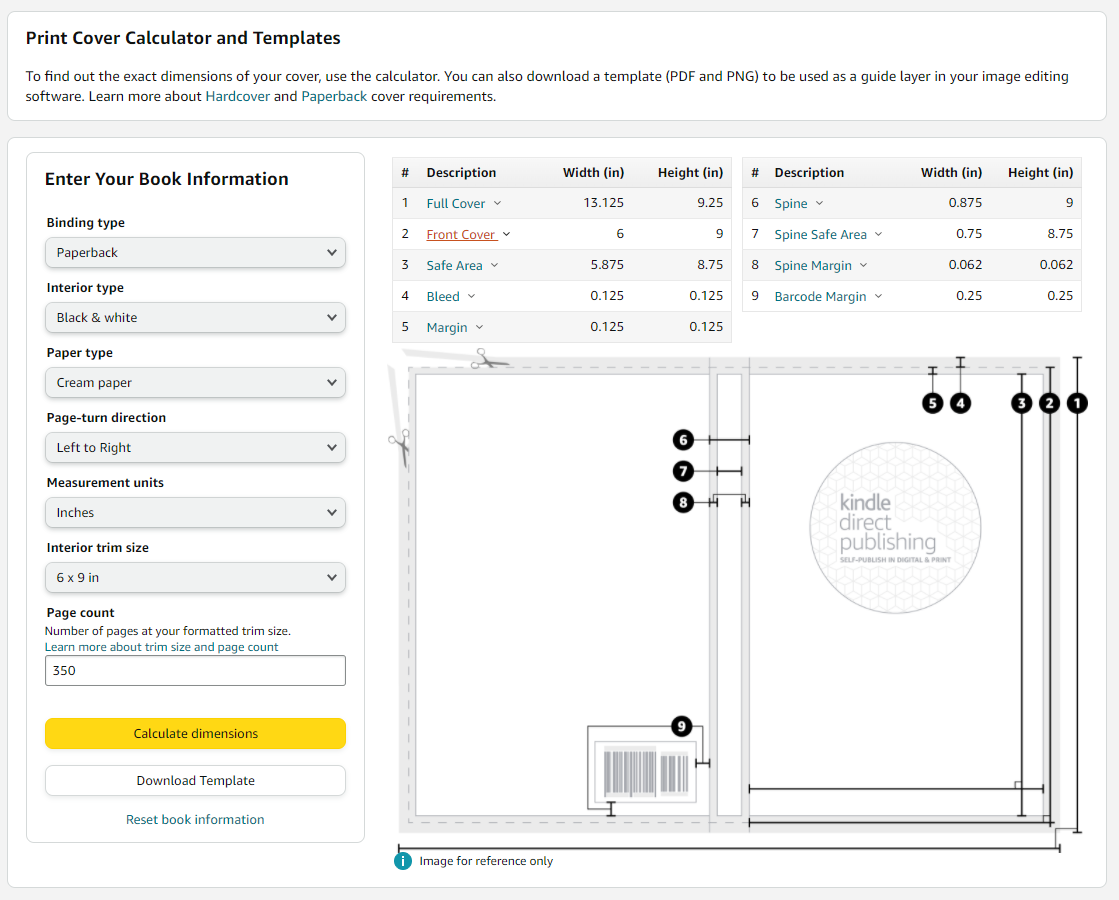
Remember, for paperback you need to have front, back, and spine along with bleed all in one document. You cannot just upload the front of your book and let Amazon do the rest.
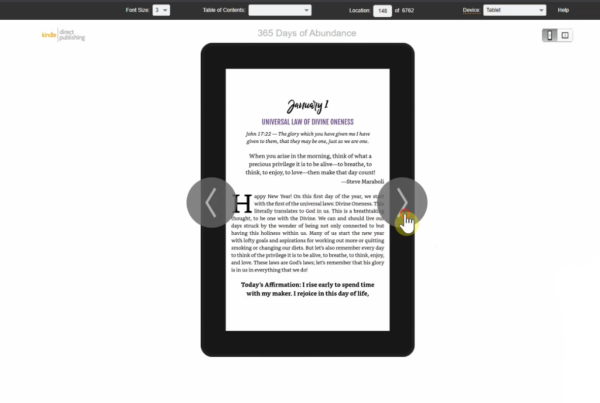
STEP 9: Check your book in the Previewer
Once your paperback and cover pass the automated approval process, you can click “Launch Previewer” to see your book layout. Please note this is NOT an exact science. Things that look perfectly centered in your previewer (like text on your spine) can often come out off-center in your proof. The best way to do this is with trial and error. Keep updating your file and ordering physical proofs until it looks exactly like you want it.

Make sure to go through EVERY PAGE in your book. Don’t just assume everything looks fine and skip to the end. There can be weird coding on a paragraph, weird spacing, your chapter headings can look wonky…a million different things.
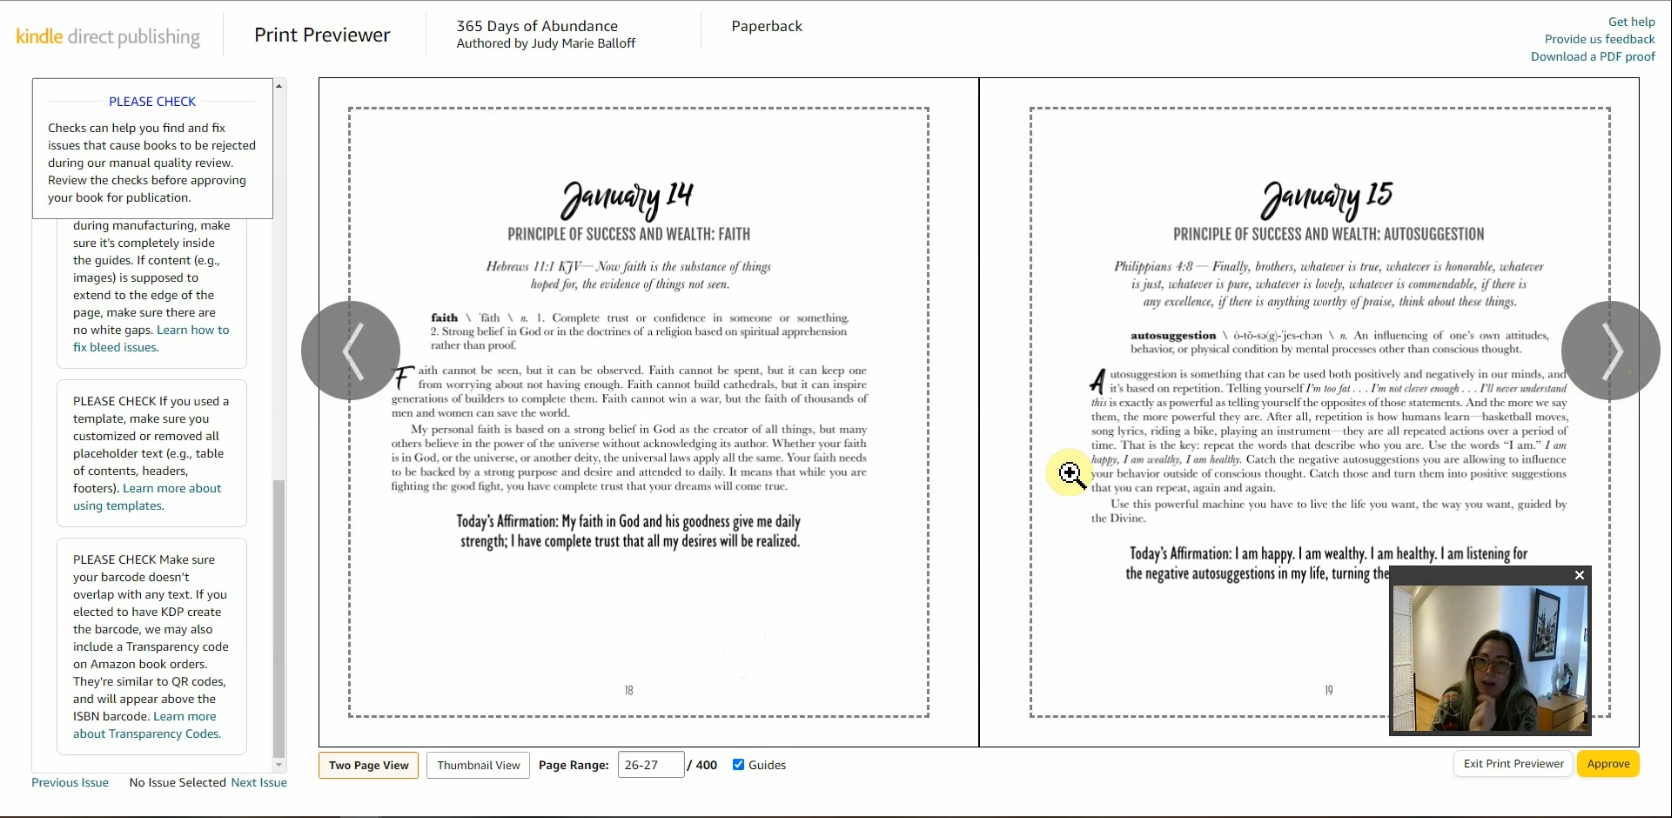
Once you’re happy with each and every page (this may take a few tries IRL, but we are assuming you already have a perfect book here), then click on “Approve” to return to the book creator.
Click “Save and Continue” at the bottom of the screen…and off we go to the final step!
STEP 10: Set pricing and marketplace
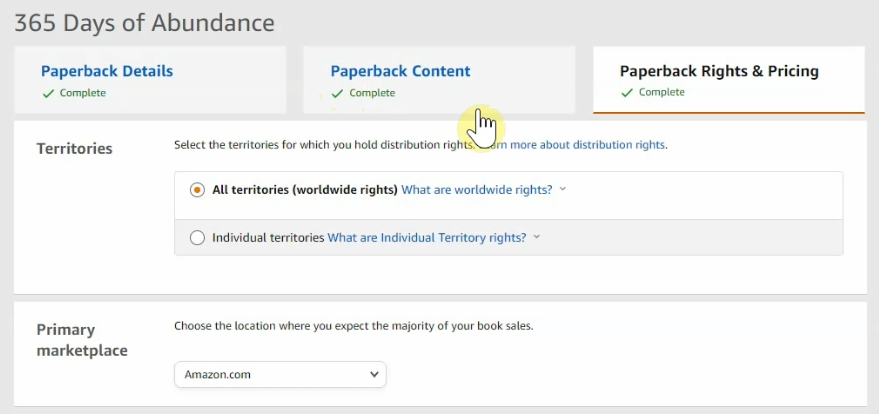
Congrats! The hard stuff is done! The final page asks you to choose your distribution, and then set your pricing in all the different markets.
As for territories, go ahead and leave it set to “All territories.” It doesn’t cost you anything, so why not?
Last but not least, set the pricing for your book! This is also deserving of a blog post on its own, but you can look at similar books in your genre and see what they’re priced at. It’s a little more of an art than a science, and once your book is selling, you can try raising the price and seeing if it sticks until you get in that sweet spot. You can see in the “Royalty” column how much you will earn for each book. The only reason this book is $15.99 is because it’s 400 pages, so its printing costs are extremely high! Even at that price, I’m only earning $3,94 per book sold!
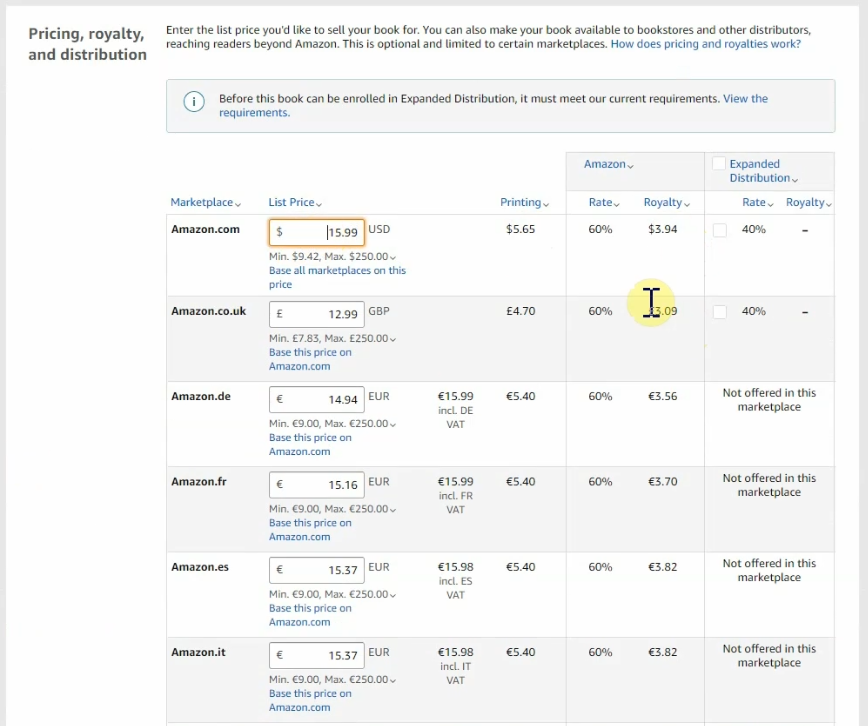
If your book is a standard trim size like 6×9 or 5×8, you can choose “Expanded Distribution” which will allow bookstores and libraries and whatnot to bulk order your book. There’s no real reason not to do this, but you make very little money off it.
Note that Amazon will match the lowest price it finds on the internet. So if you’re selling your book on Apple for $9.99, but price it at $11.99 on Amazon, they will automatically change it to $11.99. They have the final say in everything!
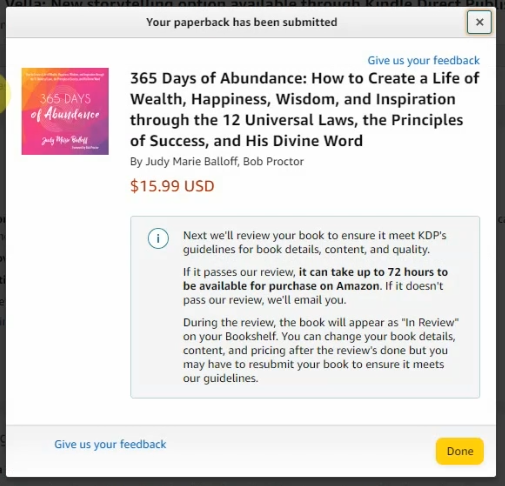
STEP 9: HIT PUBLISH!
AAAAAAND YOU’RE DONE!
Hit that publish button and your book should be live in about 24 hours!