how to convert word to PDF for amazon
if you’re here, you’ve probably been struggling with uploading a paperback version of your book to Amazon’s Kindle or KDP backend. I know I googled “convert word to PDF for amazon” about a hundred times when I was getting started. If you’re pulling your hair out with their frustrating formatting, don’t fret! It’s super easy to get a file that will look exactly as you want it when it goes to Amazon’s paperback printing.
We’re assuming you already have your book written in Microsoft Word. Great job! You wrote a flippin’ book!
formatting your word doc for paperback
Now the first thing we want to do is make sure our Word document is formatted in the same size as the paperback book size that we’re choosing. The most popular size for paperbacks is 6×9, so let’s use that as an example.
First, we’re going to go up to our home ribbon and click on “Layout.” Then in the top left you’ll see “Page Setup” and you can click on the little arrow in the bottom corner to pop out the Page Setup dialogue.
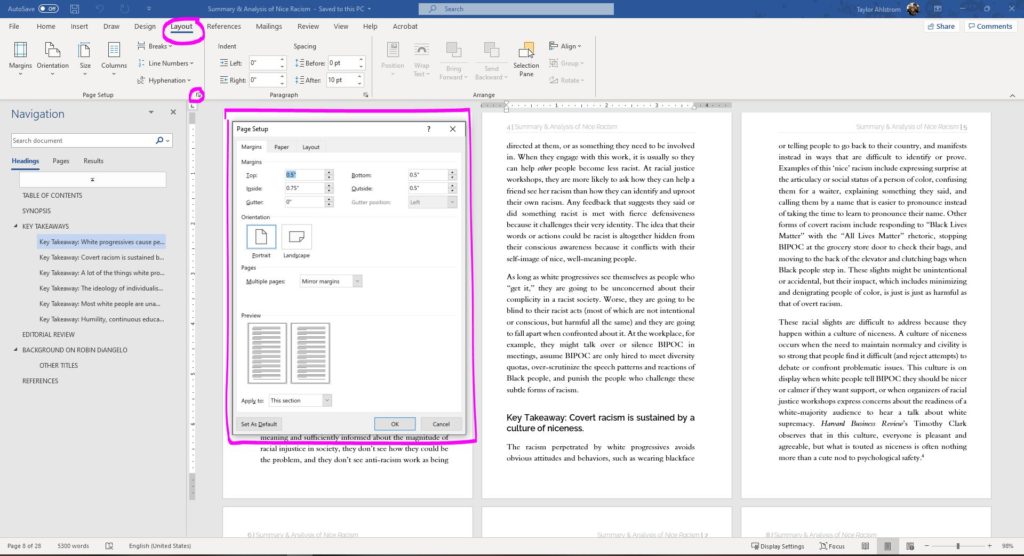
The first thing you’ll notice here is that my margins are NOT the same for top, bottom, inside, and outside. This is because paperback books require a gutter, or extra space where the binding is. If you don’t provide this gutter, your text will disappear into the binding making it hard to read. A minimum gutter for any book should probably be about 0.75″, but you can check out this guide depending on the length of your book. Note also that you need to select mirror margins here.
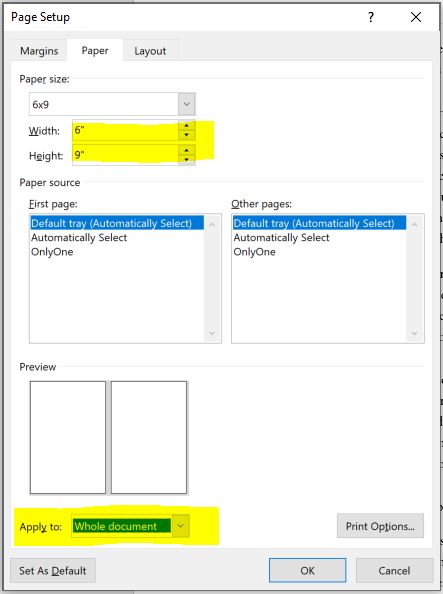
As soon as you have your margins set, click on the “Paper” tab at the top of the dialogue box. The very first option is “Paper Size” and obviously, here is where you will be choosing your size. I think Word comes with 6×9 as a preset option, but if not you can choose “Custom Size” from the dropdown and add it yourself.
This next step is crucially important: MAKE SURE TO APPLY TO WHOLE DOCUMENT!
Down at the bottom, the default selection will be “Apply to Section.” This will mean some of your pages are different sizes than other pages, and Amazon will reject your book 100 times and you will go back to pulling your hair out because it is very hard to catch this once you’ve done it.
So now you click “OK” and you have a 6×9 book with nice, wide gutter margins that we’re going to turn into a PDF!
The beauty of PDF files is that alllllll your formatting gets converted exactly as it looks, so you shouldn’t have any problems with wonky fonts like you do when you’re converting to epub, or trying to go between Apple and PC.
saving ms word doc as PDF
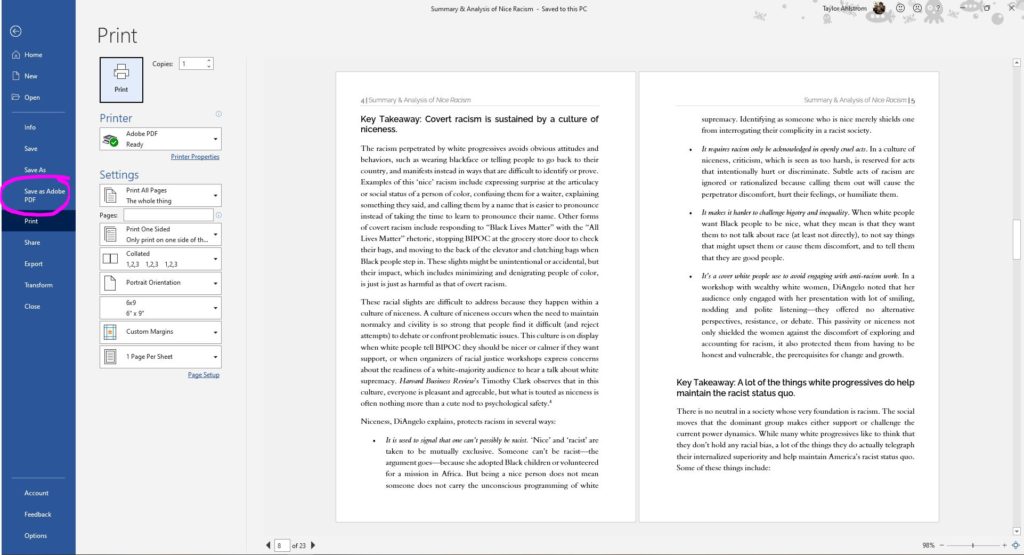
If you happen to pay for Adobe PDF, you can take the easy route here and print to PDF which gives you lots more control over your settings. But for those who don’t pay for the editor, there are still TWO ways to convert your Word doc to PDF. The first is super easy…you just “Save As PDF.” Seriously. In your document, click on File in the top left, or hit CTRL+P to print. Here you can also scroll through your book page by page and make sure nothing looks wonky. If one of your pages is the wrong size, you should be able to catch that here!
Then just click on “Save as Adobe PDF”:
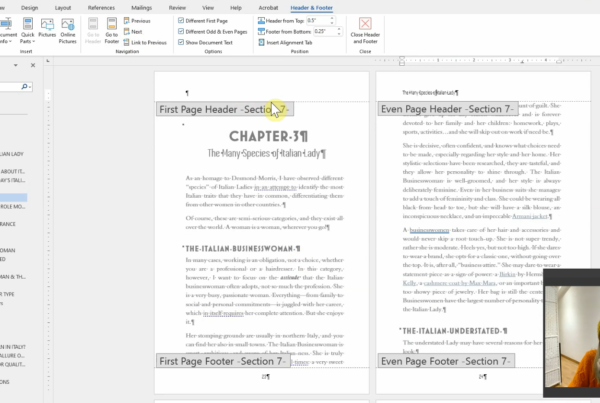
Here it will prompt you to put in the file name for your PDF doc and ask where you want to save it. Once you do this, open up the PDF and scroll through. In order to see how this is going to look as a paperback we want to go to View > Page Display > Two Page View and make sure that “Show Cover Page in Two Page View” is selected. This will give us the best approximation of how it will look in print.
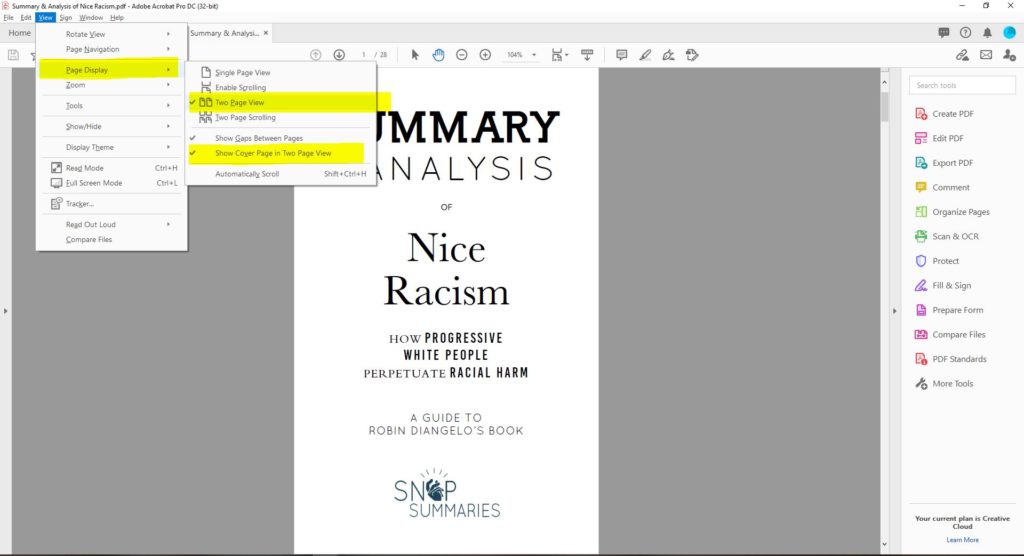
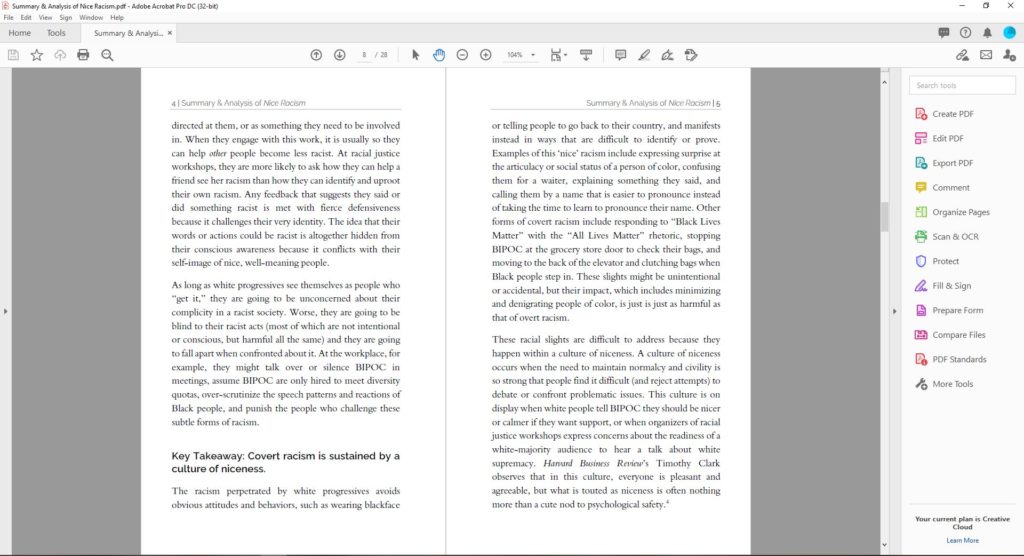 ooouuu what a pretty layout with nice, wide gutters!
exporting ms word doc as PDF
While saving as PDF is generally pretty good, depending on what fonts you’re using, what kind of computer you have, and all sorts of other things, it can sometimes look a liiiiitle bit different than your Word document. If you don’t like how the PDF looked from “Save As” there is another way to get your word document into PDF format: exporting. MS Word comes with a feature to export your document into PDF form. At the top of your screen where your ribbon is, look for the word “Acrobat” and then click on “Preferences.” Here you can set the conversion to “High Quality” instead of Standard. You shouldn’t need to mess with any of the other settings. Then click OK and then “Create PDF.” Voila!
You can also hit CTRL+P like you’re going to print and then you’ll see the Export option on the menu on your left, and when you’re ready, click “Export”
Both of these options will prompt you to save your PDF file.
uploading PDF to Amazon KDP paperback
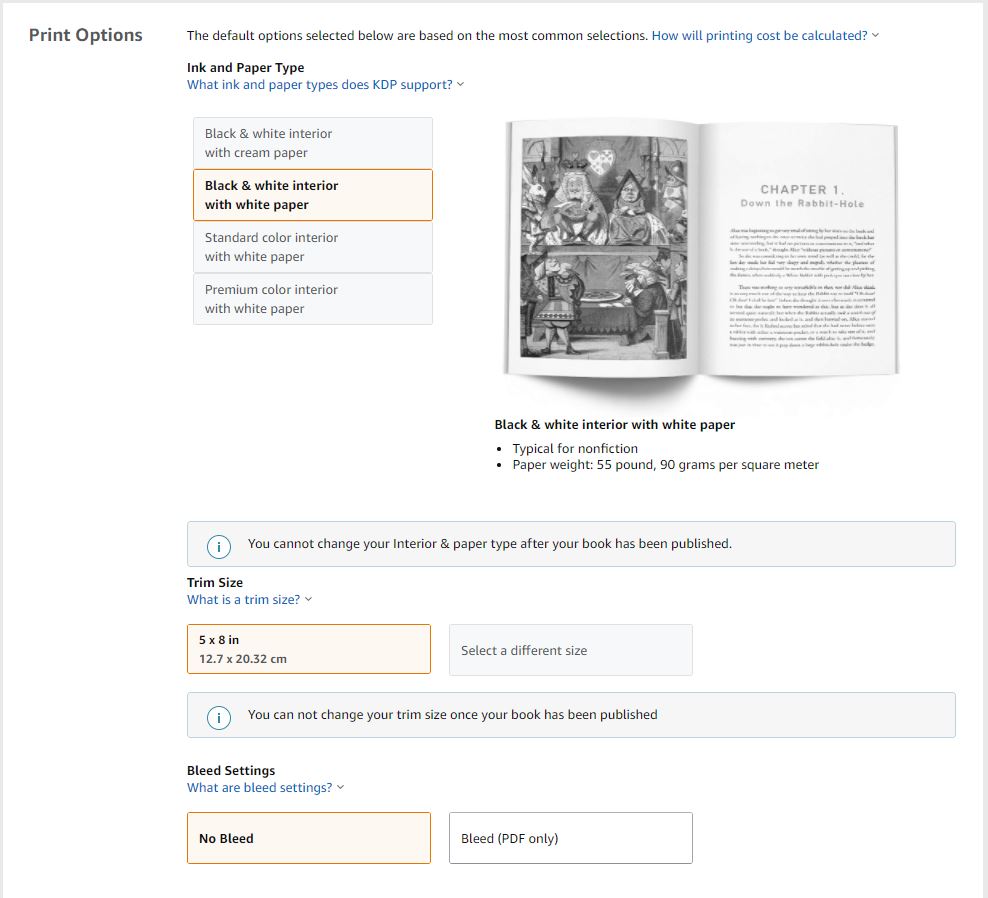
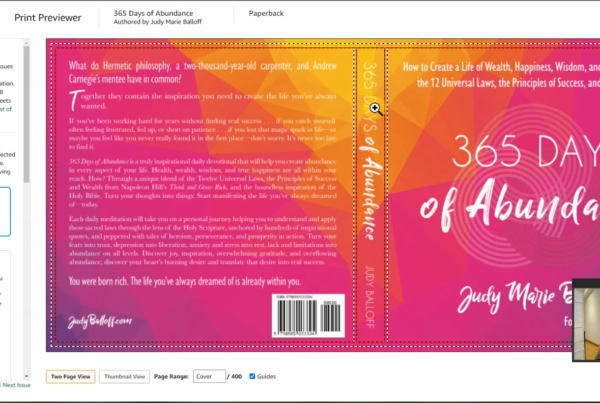
Once you have your PDF saved, you can upload it in the Amazon backend, and go through page by page to see how everything looks. Remember to choose the trim size in Amazon that aligns with whatever you chose here. Also remember that your cover is going to change sizes ever-so-slightly based on if you choose white or cream interior. I have a full post HERE on the Amazon side of things.
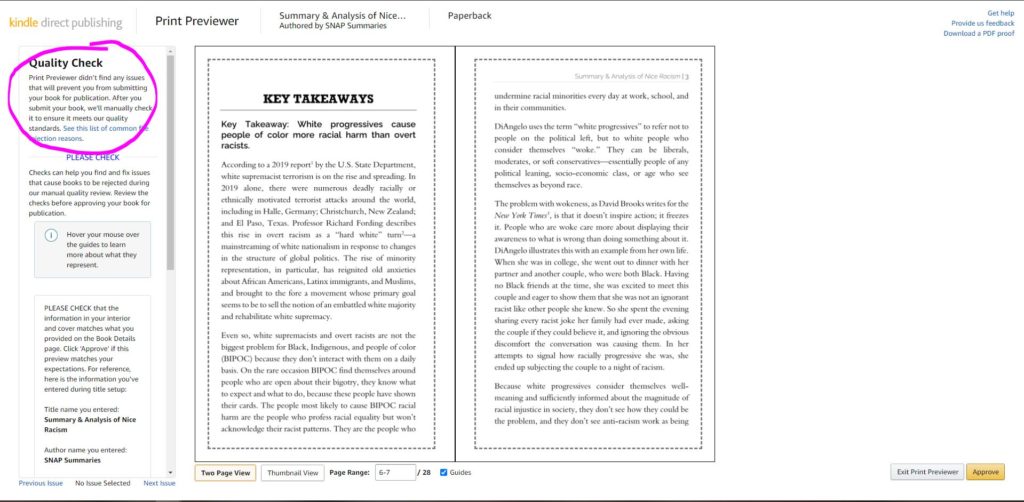
Amazon will make you review your book in the previewer and tell if you they spot any problems up in the top left.
And that’s it! It should be pretty easy, but of course a million little things can get screwed up, so if you’re having issues, just drop a comment below (along with some screenshots), and I’ll be happy to help you fix it!


One Comment